BlogVault is one of my favorite tools. It makes daily backups quick and painless. Laravel Forge and DigitalOcean make server setup and maintenance a breeze.
The only downside is Forge configures servers without password access, so “migrating” a website to a DigitalOcean server requires a few hoops to jump through, like configuring a public key authentication your BlogVault account. Since you already have SSH access for your DigitalOcean server, it’s a lot faster to do it manually with the help of BlogVault.
This guide covers our use case with Forge/DigitalOcean specifically, but the same process applies to any hosting environment as long as you have SSH access.
What you’ll need:
- A BlogVault account
- A website already backed up to BlogVault
- Database name, user, and password
- SSH access
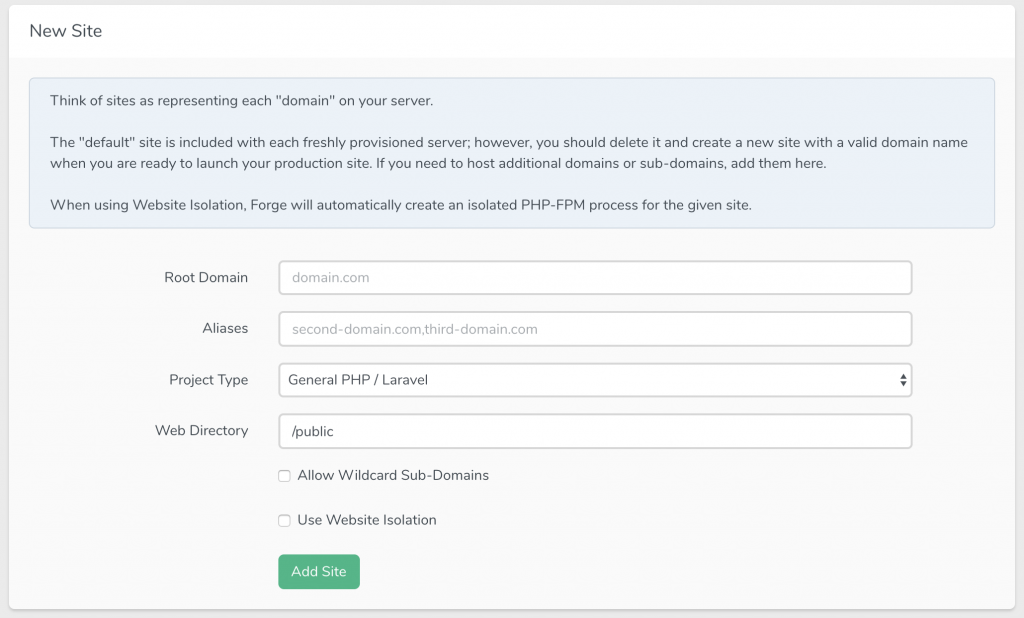
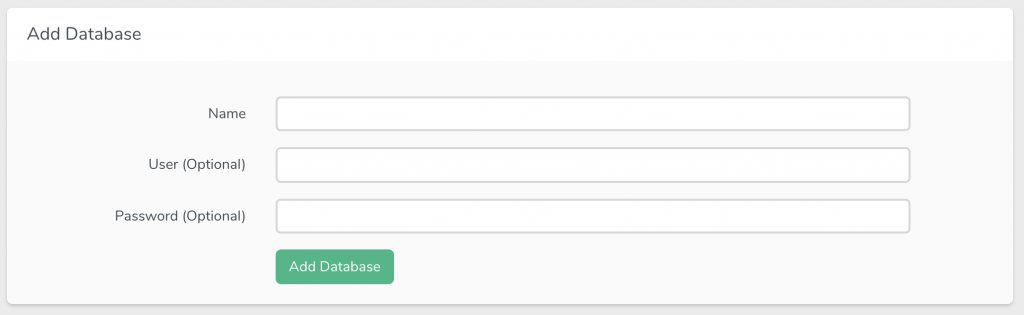
1. Create new site and database in Laravel forge
2. “Download” a backup from BlogVault
Go to BlogVault and click “Download Backup” on the specific backup you want to migrate.
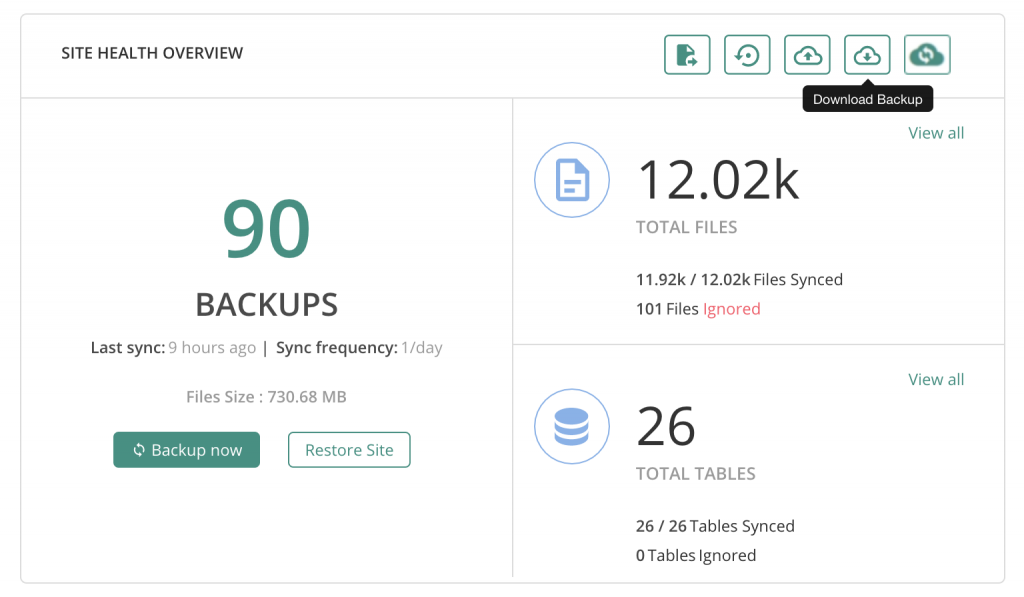
Configure the destination URL and database credentials as needed.
3. SSH into your server
Connect to your server and get to the site’s public folder.
4. Download the BlogVault backup directly to your server
After BlogVault is done packaging up your website, you’ll get a link to “download” your backup. Do not download it to your computer. Instead, right click on the button and “copy link address”.
From your terminal, use the wget command at your site’s public folder. It should look like the following:
wget https://public123.blogvault.net/downloads/backups/150518774_mywebsite.com.zip
This will download the backup directly to the server.
5. Unzip the archive
unzip https://public807.blogvault.net/downloads/backups/150518774_surfingmadonnarun.org.zip
6. Import the database
If you have wp-cli installed, you can use the db import command
wp db import bvfulldump.sqlBlogVault always names the database dump bvfulldump.sql
If you don’t have wp-cli installed, you can use mysql command
mysql -u username -p yourdatabase < bvfulldump.sqlOf course rename “username” and “yourdatabase” with your own credentials. You’ll be prompted for the database password. If all went well you’ll import the database without issue.
7. Cleanup
Visit your site in a browser and make sure everything made it over ok. If it looks good, delete the archive file and the bvfulldump.sql files from the server.
If you changed the URL of the website, be sure to add the new address to BlogVault so it continues backing up.
Notes:
This guide has specific instructions for Laravel Forge and DigitalOcean. The important part to remember is to have BlogVault generate the archive file you and download it directly to where your host is via SSH. You can also do this technique to set up the website locally on your Mac or Linux environment.